拡大縮小時の画像を奇麗にするには NSGraphicsContext#setImageInterpolation: を使えばよさそうなことが分かった。
Re: NSimage NSImageInterpolationHigh-Low not working?
can a Cocoa app scale jpeg images as nicely as Preview does?
サンプルを作って試してみた。
サンプル:ShrinkImage-1.zip
カスタムビュー(ImageView)を用意し、この中でバンドル内の画像(sample.png)を描画させている。
ImageView.m
- (void)drawRect:(NSRect)rect {

 NSImage* image = [NSImage imageNamed:@"sample"];
 NSSize image_size = [image size];
 NSRect bounds = [self bounds];

 CGFloat ratio_w = bounds.size.width / image_size.width;
 CGFloat ratio_h = bounds.size.height / image_size.height;
 CGFloat ratio = fminf(ratio_w, ratio_h);

 NSSize new_image_size;
 new_image_size.width = (int)(image_size.width * ratio);
 new_image_size.height = (int)(image_size.height * ratio);

 NSRect image_rect = NSMakeRect(0.0, 0.0, image_size.width, image_size.height);
 NSRect new_image_rect =
  NSMakeRect(0.0, 0.0, new_image_size.width, new_image_size.height);

 new_image_rect.origin.x = (int)((bounds.size.width - new_image_size.width)/2.0);
 new_image_rect.origin.y = (int)((bounds.size.height - new_image_size.height)/2.0);

 [NSGraphicsContext saveGraphicsState];
 [[NSGraphicsContext currentContext] setImageInterpolation:_inter_polation];
 [image drawInRect:new_image_rect
    fromRect:image_rect
   operation:NSCompositeSourceOver
    fraction:1.0];
 [NSGraphicsContext restoreGraphicsState];
}
前半は比率計算で、最後の数行が画像描画コード。NSGraphicsContext#setImageInterporlation: で画質レベルを指定している。
さて実行してみよう。4種類ある NSImageInterpolation をラジオボタンで選択して試すことができる。リサイズも可能。
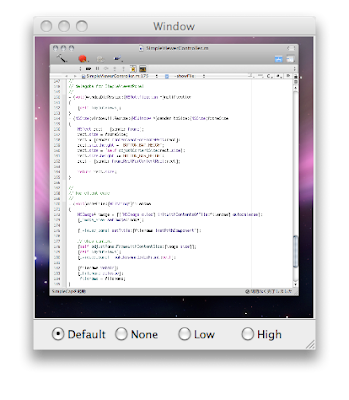
まず NSImageInterpolationDefault。NSImageViewで見たのはこんな感じか。
http://www.blogger.com/img/blank.gif
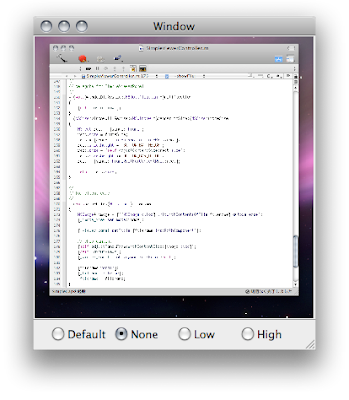
次に NSImageInterpolationNone。これはひどい。
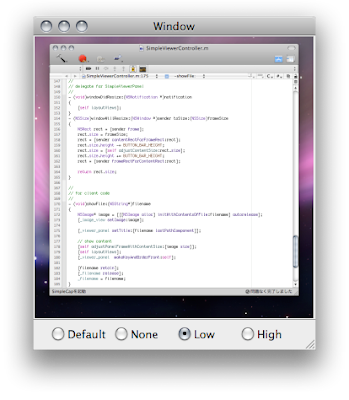
NSImageInterpolationLow。良い感じだ。
NSImageInterpolationHigh。これもいい。
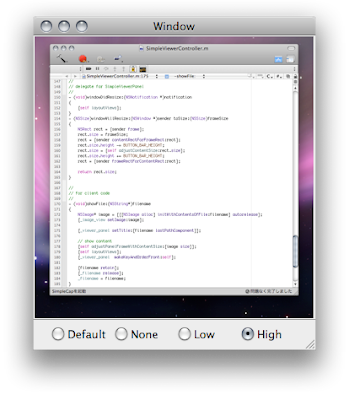
NSImageInterpolationLow と NSImageInterpolationHigh は並べれば違いが分かる程度で、NSImageInterpolationLowでも十分いい。


