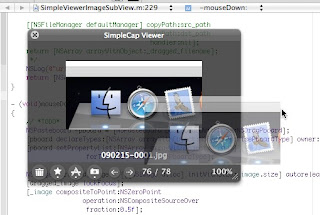
ドラッグ画像を加工する。前回は画像の透明度と大きさは現物のままだった。
まずドラッグ画像を半透明にする。これは #dragImage:at:offset:event:pasteboard:source:slideBack: へ渡すNSImageを半透明に加工すれば良い。
 NSImage *dragged_image = [[[NSImage alloc] initWithSize:_image.size] autorelease];
 [dragged_image lockFocus];
 [_image compositeToPoint:NSZeroPoint
       operation:NSCompositeSourceOver
     fraction:0.5f];
 [dragged_image unlockFocus];
こうなる。

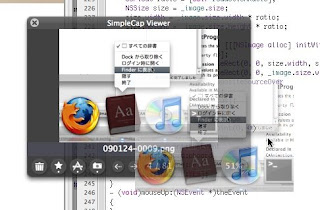
次は大きさの調整。原寸大のままなのでこれを表示倍率に合わせた大きさに修正する。

前回は compositeToPoint:operation:fraction: を使っていた。
 [_image compositeToPoint:NSZeroPoint
       operation:NSCompositeSourceOver
     fraction:0.8f];
これを drawInRect:fromRect:operation:fraction: に変える。
 [_image drawInRect:NSMakeRect(0, 0, size.width, size.height)
     fromRect:NSMakeRect(0, 0, _image.size.width, _image.size.height)
    operation:NSCompositeSourceOver
     fraction:0.5f];
描画先範囲 と描画元範囲を指定することで縮小された画像を描画することができる。
するとこうなる。


